أدلة PhotoRec
اتبع هذه الخطوات العملية لاستعادة الملفات بأمان باستخدام PhotoRec CLI و QPhotoRec GUI.
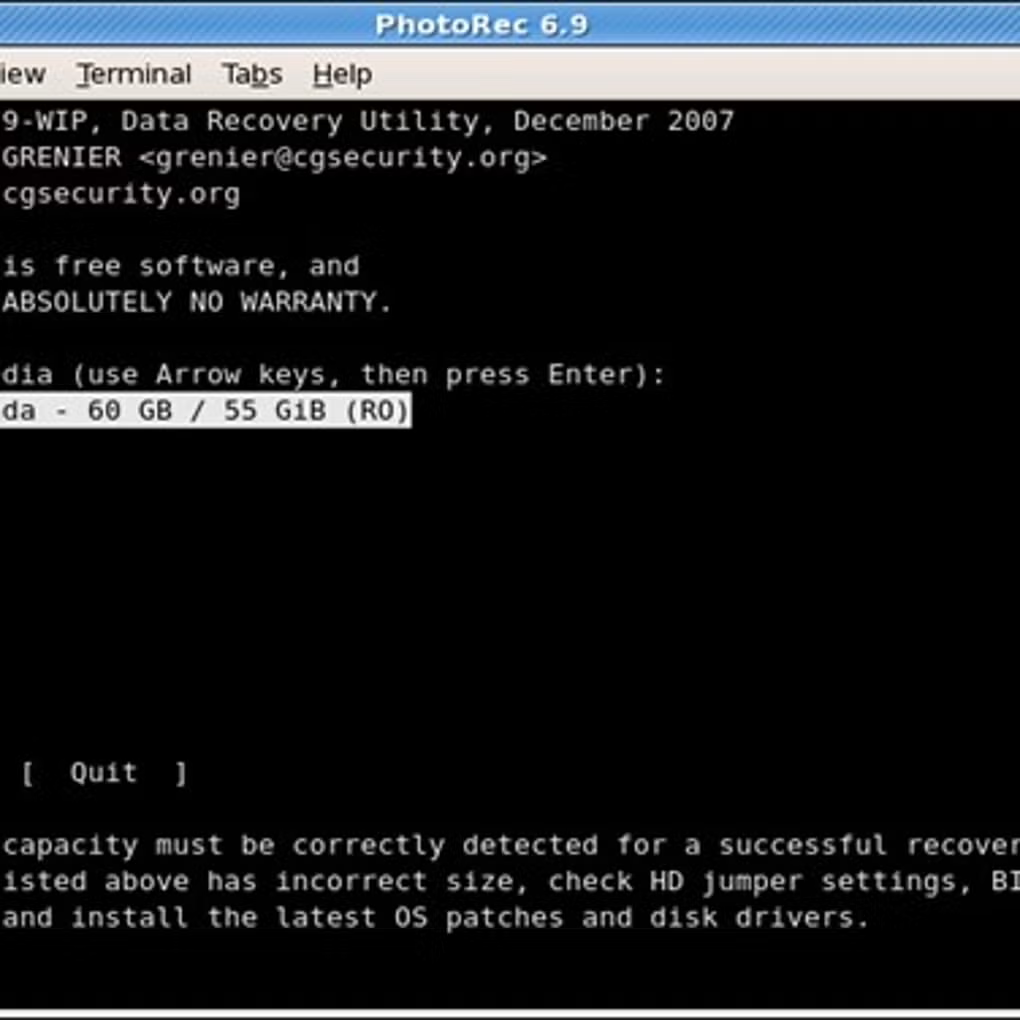
الخطوة 1 تحديد القرص
Launch PhotoRec and choose the physical disk that contained the lost files. If you’re unsure, check the capacity and device path to identify the correct drive.
الخطوة 2 تحديد القسم
Pick the partition that held the data. If the partition was deleted or corrupted, select the whole disk and let PhotoRec scan raw space.
الخطوة 3 اختيار الخيارات
Configure file families to recover (e.g., pictures, documents) and enable carving options that match your needs. Keep default settings for general recovery.
الخطوة 4 تعيين الوجهة
Select a different drive or external media as the destination folder. This prevents overwriting data on the source device.
الخطوة 5 بدء الاستعادة
Begin the scan and monitor progress. You can stop and resume if needed; recovered files are saved incrementally to the destination.
الخطوة 6 مراجعة النتائج
Open the destination directory and verify the recovered files. Use sorting tips below to organize by type and time.
القاعدة الذهبية لاستعادة البيانات
Do not save recovered files to the same drive they were lost from. Always write to a separate disk to avoid overwriting recoverable data.
استخدام QPhotoRec (GUI)
QPhotoRec provides a graphical interface to select disks, partitions, file families, and destination folders. It is ideal for users who prefer a guided workflow.
كيفية فرز الملفات المسترجعة
Recovered files are organized into folders by session and type. Sort by extension (e.g., .jpg, .mp4, .docx) and use date‑modified to group results. Many original filenames cannot be recovered due to lost directory metadata.
Common Problems & Best Practices
- If the scan finds few files, try scanning the whole disk instead of a single partition.
- Use a write blocker or ensure the source drive is not mounted read‑write.
- Avoid installing software to the affected drive; use portable builds when possible.
- For lost partitions, run TestDisk first, then use PhotoRec.